Saving projects
Updated: 8/13/2020
Once you are satisfied with your graphic design, you can save your project to use later. When you save your project, your entire stage, as well as any images, rules, overrides, and conditions (these will be covered later in this tutorial) are saved in our database. This means that your project is accessible from anywhere at any time.
To save a project click on the hollow disk icon.

Click on save button
This will open the save project modal, where you will be prompted to enter a project name, a bot for the project to connect to, and optional inputs for delay and channel (advanced). Project names must be unique for a user, so you cannot have two projects with the same name. Furthermore, you cannot save a project without first selecting a bot to connect to. In most cases you will want to use the bot you are currently connected to, but you also have the option of saving a project to a different bot that you have access to.

Complete save window
As your project saves, you will encounter a loading screen. Do not navigate away from the page or reload the page while a project is saving, or it will be corrupted.
To Save As a project, click the filled-in disk icon and follow the same steps as saving. The only difference here is that you will get a new copy of the project. You must select a new name for a project when you save as.
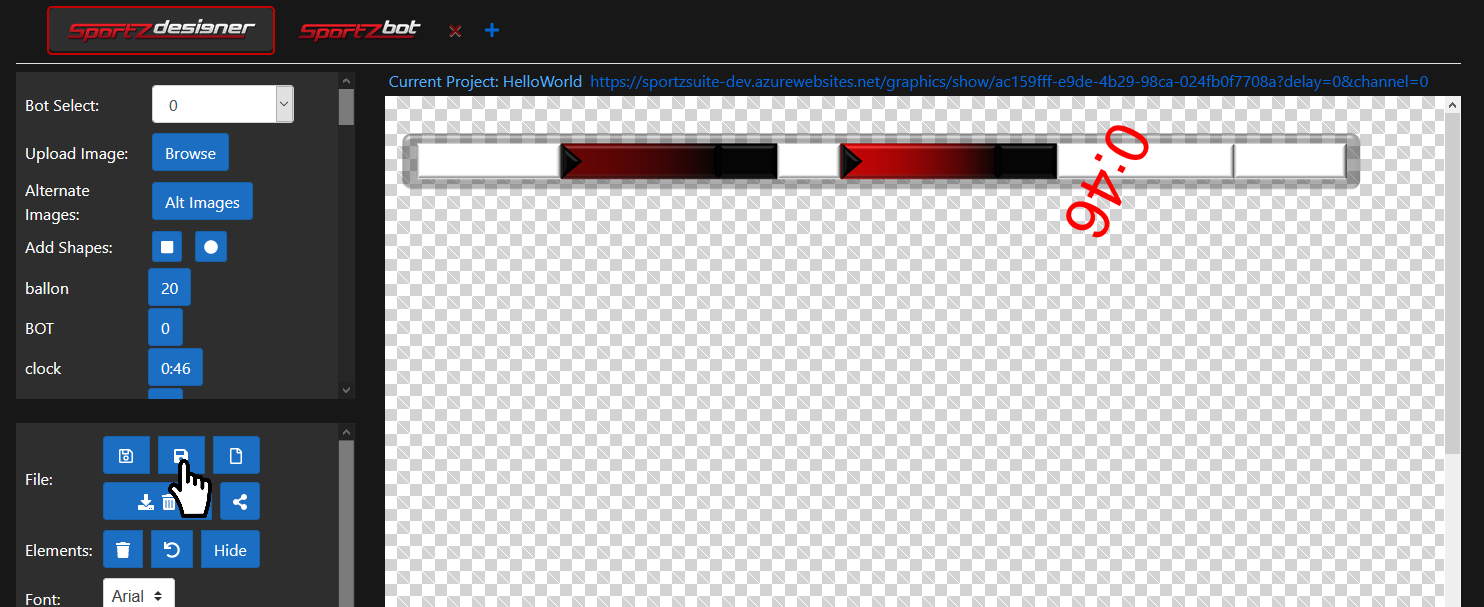
Click Save As...
When your project is saved, a link will be generated and placed directly above your designer stage. This is a link to your actual HTML overlay that can be used in a video feed or live stream. To view the overlay, simply click on the link. This graphic is built on demand and will update when you re-save your project.
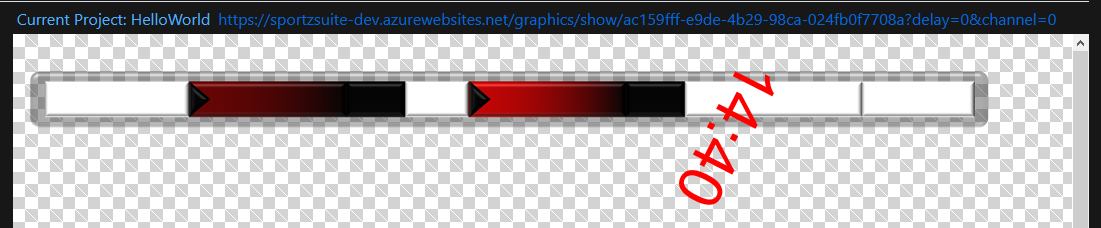
Link to your graphic overlay
Tips
- If you upload a lot of images a project may take longer to save.