Element Properties
Updated: 9/28/2020
Basics
When you click on a button to place bot data onto the stage, Sportzsuite creates an “element object” that you subsequently see on your stage. This object contains all of the information pertaining to your stage element, in the form of external and internal properties.
Internal properties are used by Sportzsuite to make your graphic work, you will not be dealing with them directly. Some example of an internal properties:
- Id
- Width
- Height
- Draggable
- Transformable
External properties are set by the user to create and manipulate your graphic design. Currently, users have access to these external properties:
- X Position
- Y Position
- X Scale
- Y Scale
- Rotation
- Padding
- Fill (color)
- Font
- Align
- Z-Index
It is important to note that an element’s width and height are considered internal! You are not able to edit these values in the designer, this is done to maintain the visual integrity and quality of each element on the stage. To change an element’s size, you must use x scale and y scale.
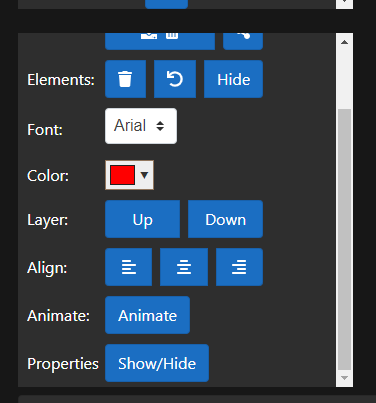
The primary way of setting external values is through the stage’s user interface. Dragging an element (with a transformer) to another part of the stage alters that element’s x and y position. Changing an element’s size or rotation with a transformer likewise alters the corresponding external properties. Furthermore, controls for fonts, colors, z-index, and alignment are found just beneath the delete and undo buttons.
The properties panel
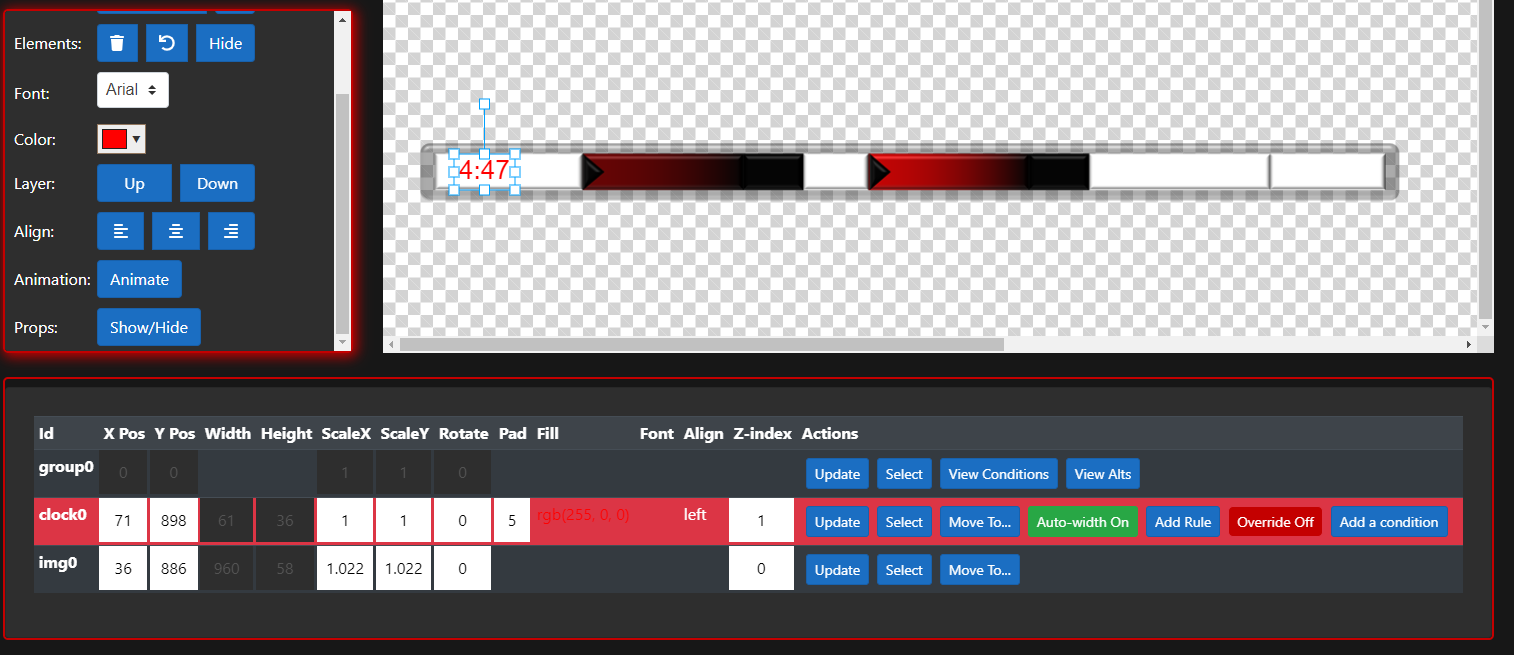
An important tool for creating professional level, high definition graphics is Sportzsuite’s properties panel. The properties panel displays the external properties (and height, width, and id) of each element in tabular form. Some of these properties are editable, while others are read-only. Learning to manipulate the properties panel effectively will help your graphic look more polished.
As you can see, all your elements follow an item called group0. All Sportzsuite projects start with group0, and all your elements are members of group0. Grouping will be covered later in this tutorial.
Next you see that element clock0 is highlighted in red, this is done for ease of use. When you select an element on the stage, its corresponding row in the properties panel will be highlighted and brought to the top, just below group0. The remaining, unselected elements can be found below these.
Finally, note that some rows include special buttons for defining and executing advanced actions on a given stage element. These actions will be covered later in this tutorial.
Read next: Groups

